A connected object enhancing the app experience
How do you ensure reliable data when it’s sometimes unavailable? That was the challenge we faced for one of our clients. This is the story of how electronics and 3D modeling helped turn a technical dead end into a smart, scalable solution.
Sometimes, an app reaches its limits — and that’s when innovation forces us to rethink our approach. In this case, the challenge was crystal clear: it was impossible to digitally collect a key piece of data essential to the app’s core functionality. So we stepped out of the purely digital world and turned to electronics for answers.
Come behind the scenes and follow the journey of designing and building a custom connected device.
An app designed for emergency care
Available since 2021 on Android and iOS, Medigo provides real-time updates on how busy emergency centers are. The app helps users find the nearest or least crowded facility, recommending the one where they can get treated the fastest.
With over 39,000 downloads, Medigo has become an essential tool in the canton of Vaud.
How to expand coverage when data is missing
Our client wanted to roll out the app to more medical centers and across additional cantons. But there was one major roadblock: the crowd level is calculated based on patient check-ins and check-outs, automatically pulled from each facility’s internal software. Integrating these systems takes time and often requires custom technical adjustments — making the process of adding new centers slow and complex.
A fast, reliable, and temporary workaround was needed — one that could deliver accurate crowd-level data without compromising the integrity of the app.
Step 1 – Defining the requirements
Here’s what the solution needed to deliver:
- Ease of use – an intuitive interface for quick adoption by on-site teams.
- Quick setup – so new partner centers could be onboarded instantly.
- Seamless connectivity – the device had to integrate smoothly with the app’s existing API.
- Flexibility – a portable solution that could be deployed and reused across different centers.
These constraints led to a simple yet powerful idea: a minimalist connected device with three buttons and three LEDs, representing three levels of crowding — low, medium, and high. Medical staff can update and visualize their center’s current status with a single press.
On the tech side, the device features its own Wi-Fi access point for initial setup, then connects directly to Medigo’s API to update the crowd-level data in real time — no extra infrastructure required.
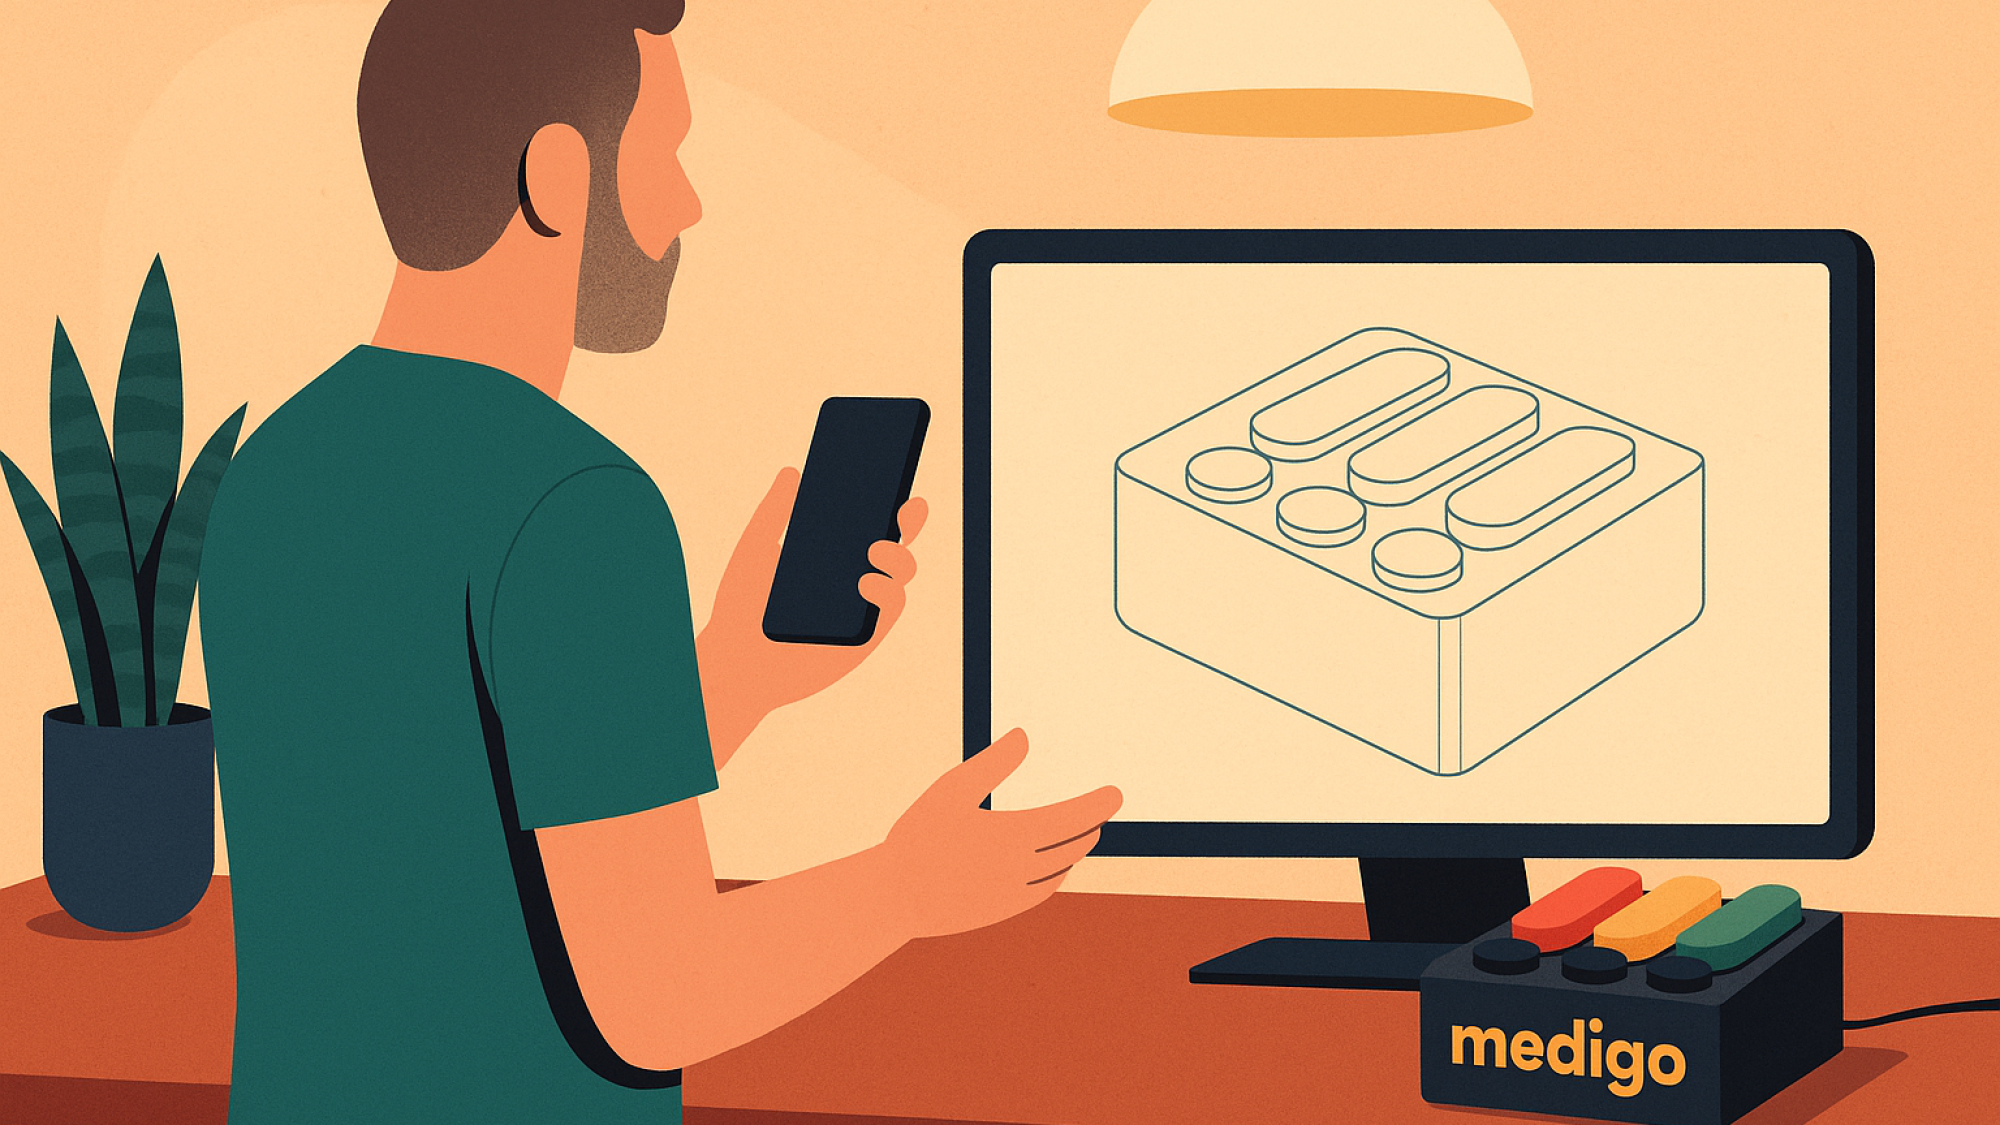
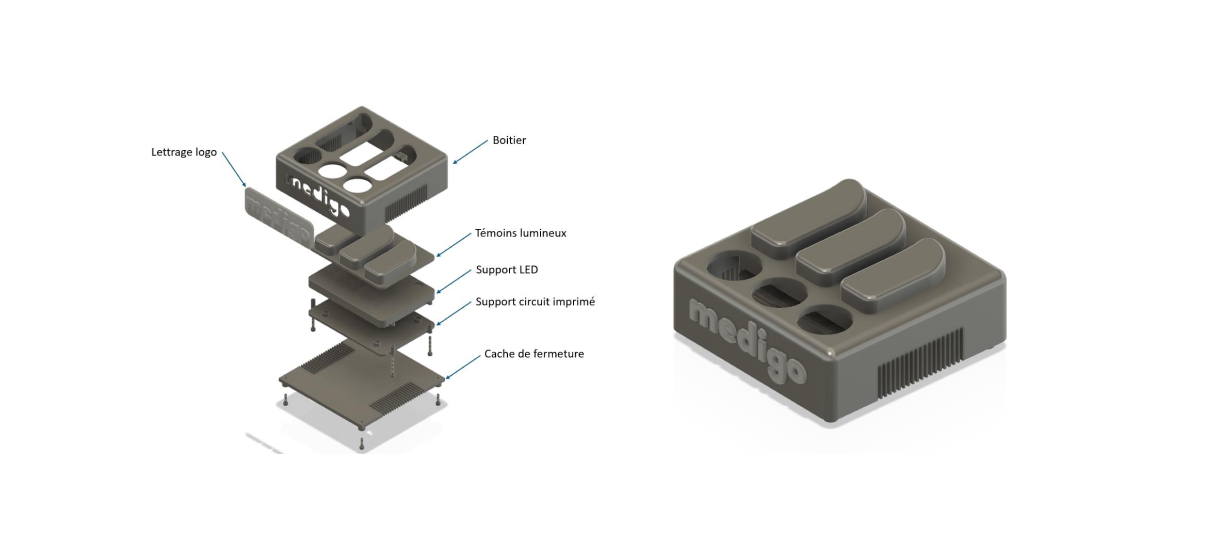
Smart and functional design
Inspired by Medigo’s branding, the device features a clean and intuitive design. Its three buttons and LEDs reflect the app’s main color palette, making it immediately familiar for users.
The whole unit is housed in a lightweight, durable 3D-printed shell, designed for quick production and daily use in a healthcare environment.
Step 2 – Building the prototype
1. 3D Modeling
We used Fusion360 — a powerful, free tool — to design the prototype. First, we laid out the components in 2D, placing each element precisely in the flat design. Then came the extrusion process: turning the sketch into a 3D object.
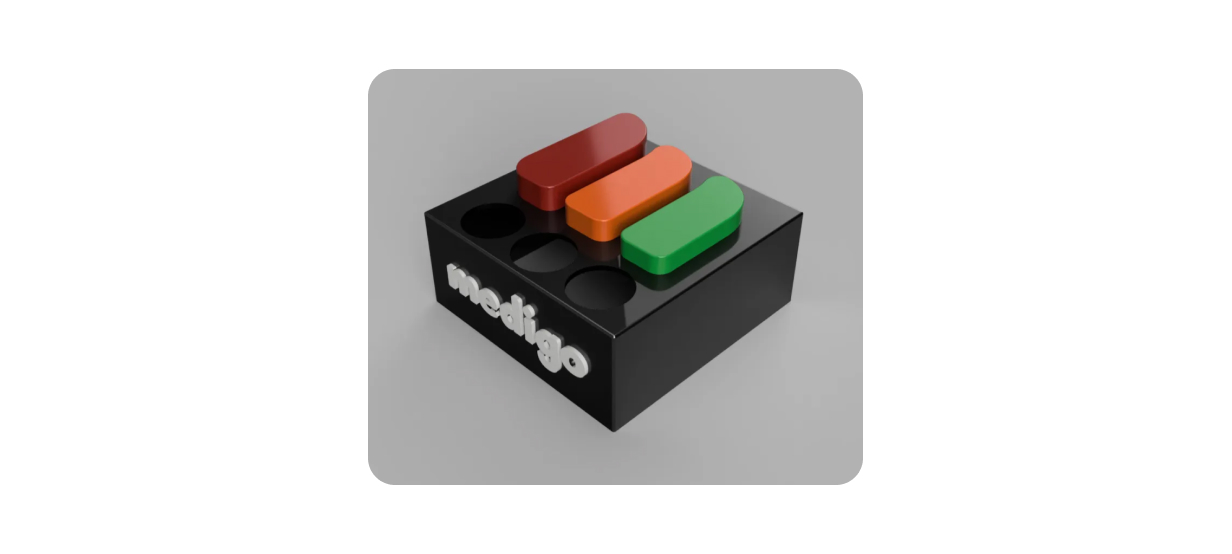
Fusion360 also let us add realistic colors and material rendering to give a better sense of the final look and feel.
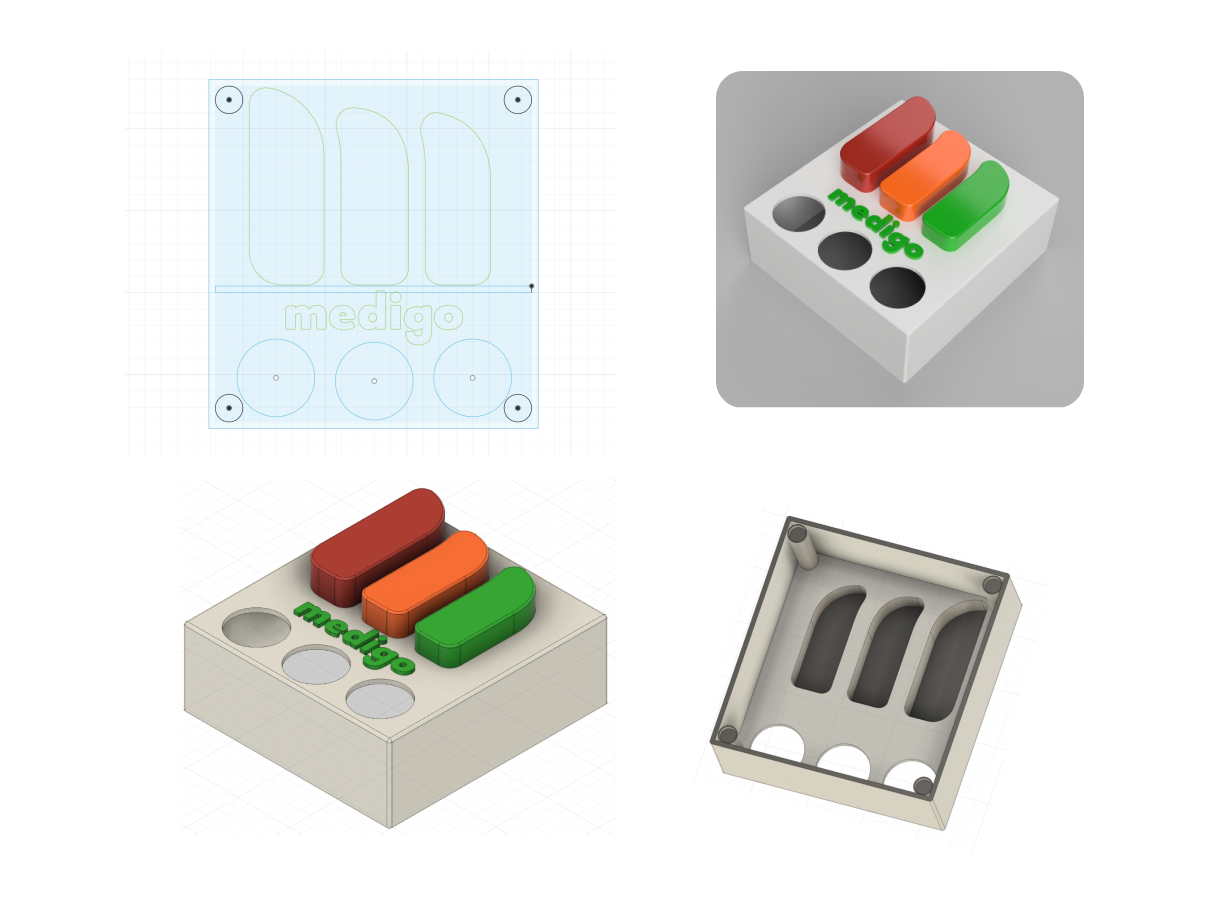
This render allowed us to present the project to the client and collaborate with them on the final design.
2. Choosing the electronic components
For the electronics, we needed the most compact components possible — without compromising on the project’s specific needs. Here’s what we chose:
- The ESP32 microcontroller – a compact and powerful chip designed specifically for IoT applications. It checked all the right boxes: built-in Wi-Fi and Bluetooth, GPIO pins for directly connecting buttons and LEDs, and a strong track record in the Maker community.
- Arcade-style buttons – chosen for their tactile feedback, which provides a satisfying and reliable user experience.
- LED strips – mounted on a custom support to provide three-directional lighting for better visibility and even brightness.
3. Assembling the prototype
Putting together the prototype gave us a chance to test our design choices in real-world conditions. For instance, 3D printing with PLA was great for early iterations, but not durable enough for actual use. We quickly switched to PETG, which offered better resistance and long-term reliability.
We also had to tweak the print settings and part orientation to fix surface smoothing issues during printing.
For the enclosure, a magnetic closure system was used on the prototype, making it easy to access the internal components. But for the final version, a more secure mounting system will be needed.
As for power, 5V via USB worked well, but the cable routing needs to be redesigned — both to streamline the assembly process and to make installation easier for end users.
In short, this stage helped us understand what works… and what still needs refining.
4. Programming
The device needs to connect to the medical center’s Wi-Fi to access the internet. Since only the on-site team can handle this setup, the process had to be as simple and foolproof as possible.
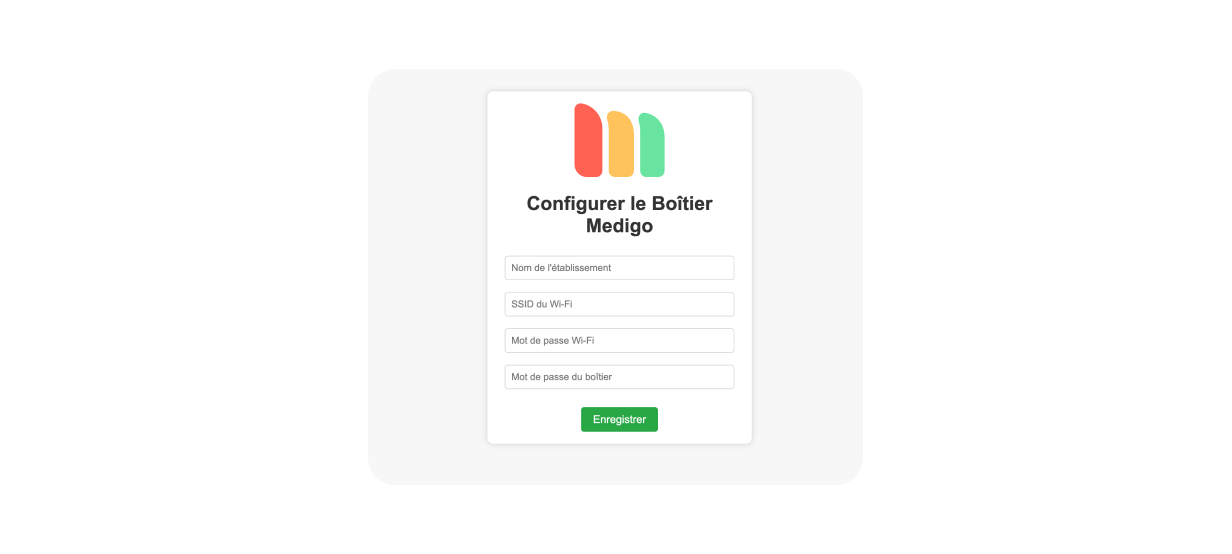
1. Setup
On first use, the device creates its own Wi-Fi network. Users just connect to it (like any regular Wi-Fi) and follow the provided instructions to open a configuration web page.
There, they enter the local Wi-Fi credentials and the Medigo login details for their facility.
Once the information is saved, the device automatically restarts, connects to the center’s Wi-Fi, and becomes fully operational.
2. Usage
Once the device is set up, the user simply presses one of the three buttons to send the current crowd level of the center. The data is sent to the server, and the visual display on the device updates accordingly.
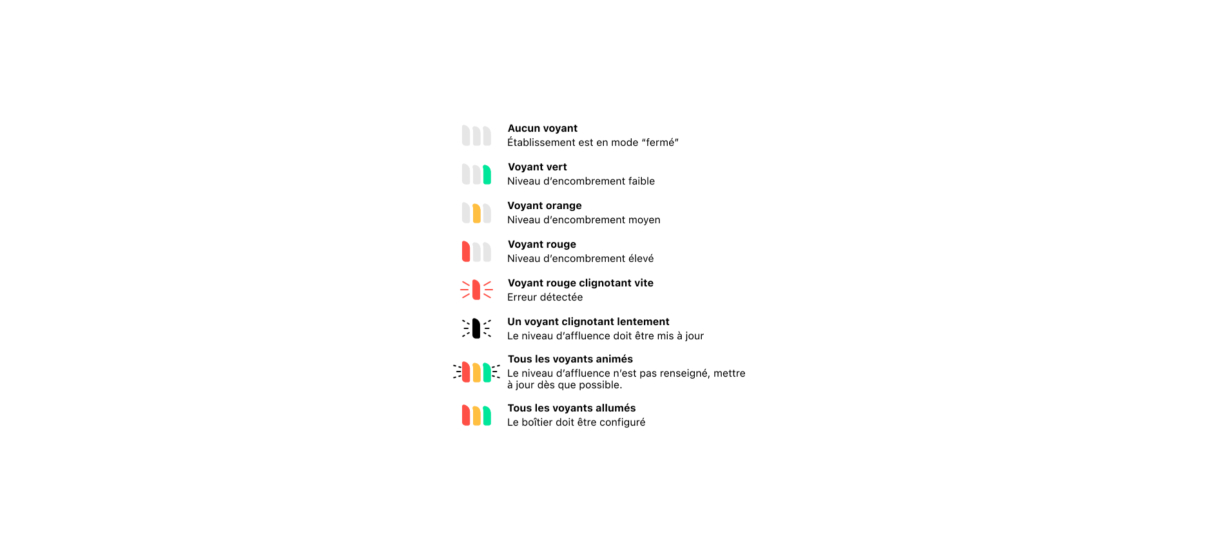
The device also communicates back to the user via LED indicators. It can, for example, signal when data needs to be refreshed, if there’s a network issue, or if it’s in configuration mode.
This system covers all usage scenarios while keeping the interface simple and intuitive.
Step 3 – Final design
After validating the prototype, we partnered with 3DCraftlab, a local company specialized in 3D modeling and printing, to conduct a quality review. That collaboration led to three major improvements:
- Print quality and speed were optimized – Issues related to multi-color printing were solved by printing the main enclosure as a single piece, and the colored elements separately. This approach improved overall quality while reducing production time.
- Material choice was validated through a comparative analysis. PETG stood out as the best option, striking the right balance between strength, durability, and cost.
- Several design details were refined – Ventilation slots were added to prevent overheating, a USB-C port was placed on the back for better power management, and the enclosure assembly was redesigned with mounts and threaded inserts to simplify the build. The LED system was also improved for better light diffusion and easier integration.
Thanks to this collaboration with 3DCraftlab, the assembly, durability, and overall finish of the device were significantly improved — adding real value to the final product.
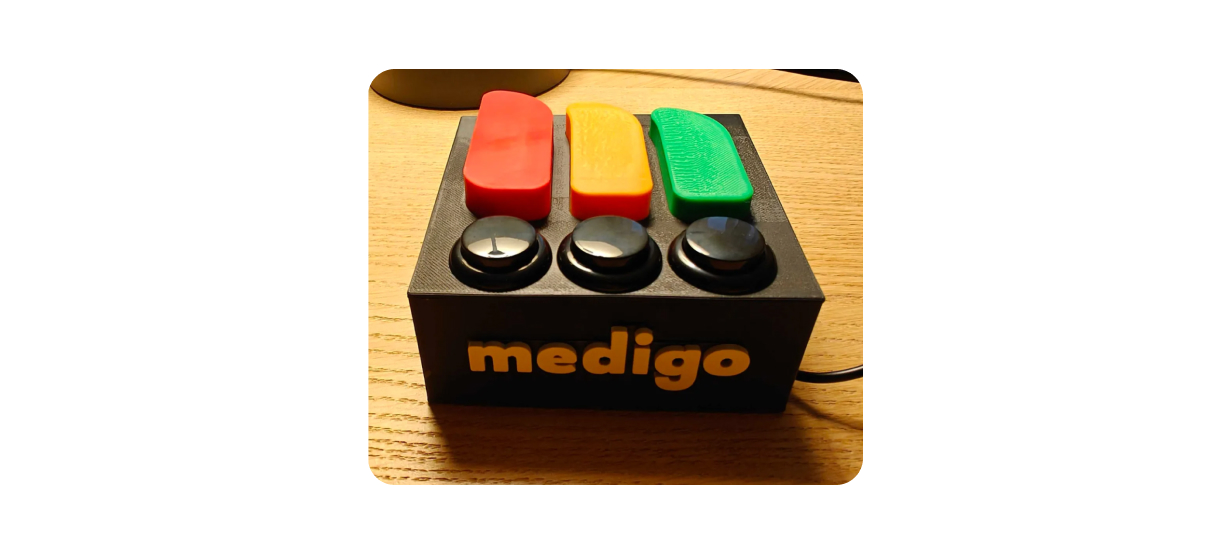
Outcome – A simple connected device… already making a difference
This project highlights how each stage of the design process contributes to building a connected product that’s both practical and field-ready.
Today, several medical centers are already using this device in their daily operations. Teams see it as a simple and effective tool that sends crowd-level data directly to the Medigo app — helping improve patient care in real time.
We’re proud to have taken on this challenge. It’s a perfect example of how a technical constraint can spark innovation — and how combining electronics with digital tools can lead to smart, future-ready solutions.